
- ReactJS Tutorial
- ReactJS - Home
- ReactJS - Introduction
- ReactJS - Installation
- ReactJS - Features
- ReactJS - Advantages & Disadvantages
- ReactJS - Architecture
- ReactJS - Creating a React Application
- ReactJS - JSX
- ReactJS - Components
- ReactJS - Nested Components
- ReactJS - Using Newly Created Components
- ReactJS - Component Collection
- ReactJS - Styling
- ReactJS - Properties (props)
- ReactJS - Creating Components using Properties
- ReactJS - props Validation
- ReactJS - Constructor
- ReactJS - Component Life Cycle
- ReactJS - Event management
- ReactJS - Creating an Event−Aware Component
- ReactJS - Introduce Events in Expense Manager APP
- ReactJS - State Management
- ReactJS - State Management API
- ReactJS - Stateless Component
- ReactJS - State Management Using React Hooks
- ReactJS - Component Life Cycle Using React Hooks
- ReactJS - Layout Component
- ReactJS - Pagination
- ReactJS - Material UI
- ReactJS - Http client programming
- ReactJS - Form Programming
- ReactJS - Controlled Component
- ReactJS - Uncontrolled Component
- ReactJS - Formik
- ReactJS - Conditional Rendering
- ReactJS - Lists
- ReactJS - Keys
- ReactJS - Routing
- ReactJS - Redux
- ReactJS - Animation
- ReactJS - Bootstrap
- ReactJS - Map
- ReactJS - Table
- ReactJS - Managing State Using Flux
- ReactJS - Testing
- ReactJS - CLI Commands
- ReactJS - Building and Deployment
- ReactJS - Example
- Hooks
- ReactJS - Introduction to Hooks
- ReactJS - Using useState
- ReactJS - Using useEffect
- ReactJS - Using useContext
- ReactJS - Using useRef
- ReactJS - Using useReducer
- ReactJS - Using useCallback
- ReactJS - Using useMemo
- ReactJS - Custom Hooks
- ReactJS Advanced
- ReactJS - Accessibility
- ReactJS - Code Splitting
- ReactJS - Context
- ReactJS - Error Boundaries
- ReactJS - Forwarding Refs
- ReactJS - Fragments
- ReactJS - Higher Order Components
- ReactJS - Integrating With Other Libraries
- ReactJS - Optimizing Performance
- ReactJS - Profiler API
- ReactJS - Portals
- ReactJS - React Without ES6 ECMAScript
- ReactJS - React Without JSX
- ReactJS - Reconciliation
- ReactJS - Refs and the DOM
- ReactJS - Render Props
- ReactJS - Static Type Checking
- ReactJS - Strict Mode
- ReactJS - Web Components
- Additional Concepts
- ReactJS - Date Picker
- ReactJS - Helmet
- ReactJS - Inline Style
- ReactJS - PropTypes
- ReactJS - BrowserRouter
- ReactJS - DOM
- ReactJS - Carousel
- ReactJS - Icons
- ReactJS - Form Components
- ReactJS - Reference API
- ReactJS Useful Resources
- ReactJS - Quick Guide
- ReactJS - Useful Resources
- ReactJS - Discussion
ReactJS - Conditional Rendering
Conditional rendering in React
Conditional rendering is used to show / hide a certain part of the UI to the user depending on the situation. For example, if the user is not logged into a web application, the web application will show the login button. When the user logged into the web application, the same link will be replaced by the welcome message.
Let us learn the options provided by the React to support conditional rendering.
Methods of conditional rendering
React provides multiple ways to do conditional rendering in a web application. They are as follows −
Conditional statement
JSX / UI variable
Logical && operator in JSX
Conditional operator in JSX
null return value
Conditional statement
Conditional statement is simple and straight forward option to render a UI based on a condition. Let us consider that the requirement is to write a component which will show either login link or welcome message based on the user's login status. Below is the implementation of the component using conditional rendering,
function Welcome(props) {
   if(props.isLoggedIn) {
      return <div>Welcome, {props.userName}</div>
   } else {
      return <div><a href="/login">Login</a></div>
   }
}
Here,
Used isLoggedIn props to check whether the user is already logged in or not.
Returned welcome message, if the user is already logged in.
Returned login link, if the user is not logged in.
The component can be used as shown below C−
function App() {
   return (
      <div className="container">
         <div style={{ padding: "10px" }}>
            <div>
               <Welcome isLoggedIn={true} userName={'John'} />
            </div>
         </div>
      </div>
   );
}
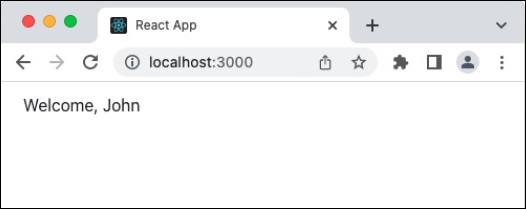
The component will render the welcome message as shown below −
JSX / UI variable
React allows the storing of JSX element into a variable and use it whenever necessary. Developer can create the necessary JSX through conditional statement and store it in a variable. Once the UI is stored in a variable, it can be rendered as shown below −
function Welcome(props) {
   let output = null;
   if(props.isLoggedIn) {
      output = <div>Welcome, {props.userName}</div>
   } else {
      output = <div><a href="/login">Login</a></div>
   }
   return output
}
Here, we have used the variable output to hold the UI. The component can be used as shown below −
function App() {
   return (
      <div className="container">
         <div style={{ padding: "10px" }}>
            <div>
               <Welcome isLoggedIn={true} userName={'John'} />
            </div>
         </div>
      </div>
   );
}
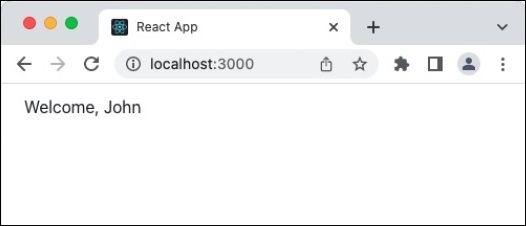
The component will render the welcome message as shown below −
Logical && operator
React allows any expression to be used in the JSX code. In Javascript, condition are applied from left to right. If the left most condition is false, then the next condition will not be processed. Developer can utilize this feature and output the message in the JSX itself as shown below −
function ShowUsers(props) {
   return (
      <div>
         <ul>
            {props.users && props.users.length > 0 &&
               props.users.map((item) =>
                  (
                     <li>{item}</li>
                  )
               )}
         </ul>
      </div>
   );
}
export default ShowUsers;
Here,
First of all, props.users will be checked for availability. If props.users is null, then the condition will not be processed further
Once, props.users is available, then the length of the array will be checked and only if the length is greater then zero, the condition will be processed further
Finally, props.users will be looped over through map function and the users information will be rendered as unordered list.
The component can be used as shown below −
function App() {
   const users = ['John', 'Peter']
   return (
      <div className="container">
         <div style={{ padding: "10px" }}>
            <div>
               <ShowUsers users={users} />
            </div>
         </div>
      </div>
   );
}
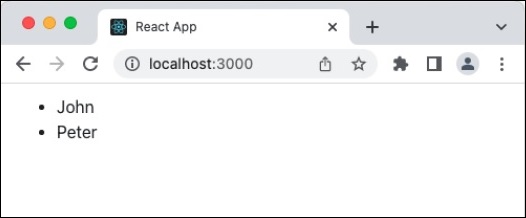
The component will render the users as shown below −
Conditional operator in JSX
Since React allows any javascript expression in JSX, developer can use conditional operator (a =b ? x : y) in the JSX and render the necessary UI element only as shown below −
function Welcome(props) {
   if(props.isLoggedIn) {
      return props.isLoggedIn ?
      <div>Welcome, {props.userName}</div> : <div><a href="/login">Login</a></div>
   }
}
Here, we have used the conditional operator to show either welcome message or login link. The component can be used as shown below −
function App() {
   return (
      <div className="container">
         <div style={{ padding: "10px" }}>
            <div>
               <Welcome isLoggedIn={true} userName={'John'} />
            </div>
         </div>
      </div>
   );
}
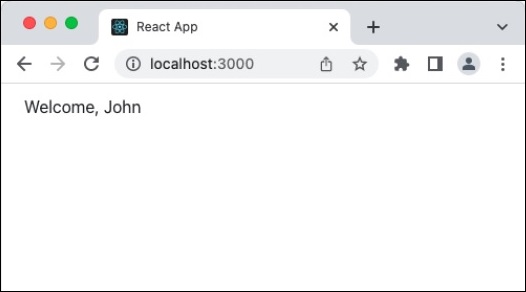
The component will render the welcome message as shown below −
The null return value
React renders a component only when the component returns a UI element. Otherwise, it silently skip the rendering without any error message. Developer can exploit this feature and render certain UI only when a condition is met.
function Welcome(props) {
   return props.isLoggedIn ? <div>Welcome, {props.userName}</div> : null
}
Here,
We have used conditional operator to either show / hide the welcome message
null does not render any UI
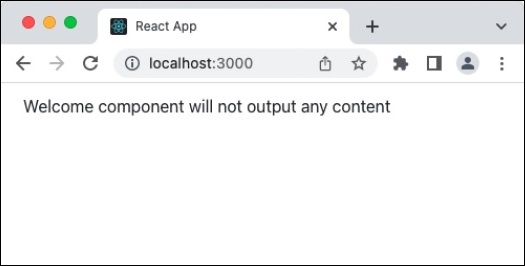
The component can be used as shown below −
function App() {
   return (
      <div className="container">
         <div style={{ padding: "10px" }}>
            <div>
               <div>Welcome component will not output any content</div>
                  <Welcome isLoggedIn={false} />
               </div>
            </div>
         </div>
      </div>
   );
}
The component will render the welcome message as shown below −
Summary
React provides multiple way to conditionally render a UI element. Method has to be chosen by the developer by analyzing the situation
To Continue Learning Please Login